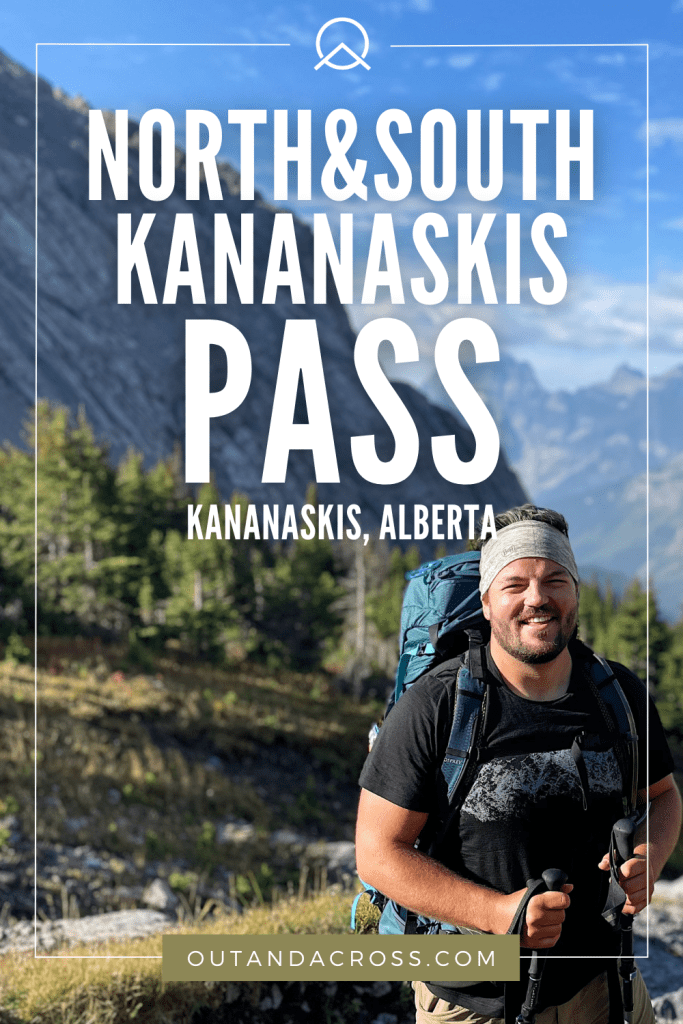
Are you thinking about hiking the North and South Kananaskis Pass in Alberta? Also called the Turbine Canyon Loop, this stunning circuit is packed with alpine lakes, wildflower meadows, and jaw-dropping mountain views — but it’s no walk in the park. With steep climbs and rugged, remote terrain, this adventure demands solid fitness and route-finding skills. Ready to take it on? Here’s what you need to know.
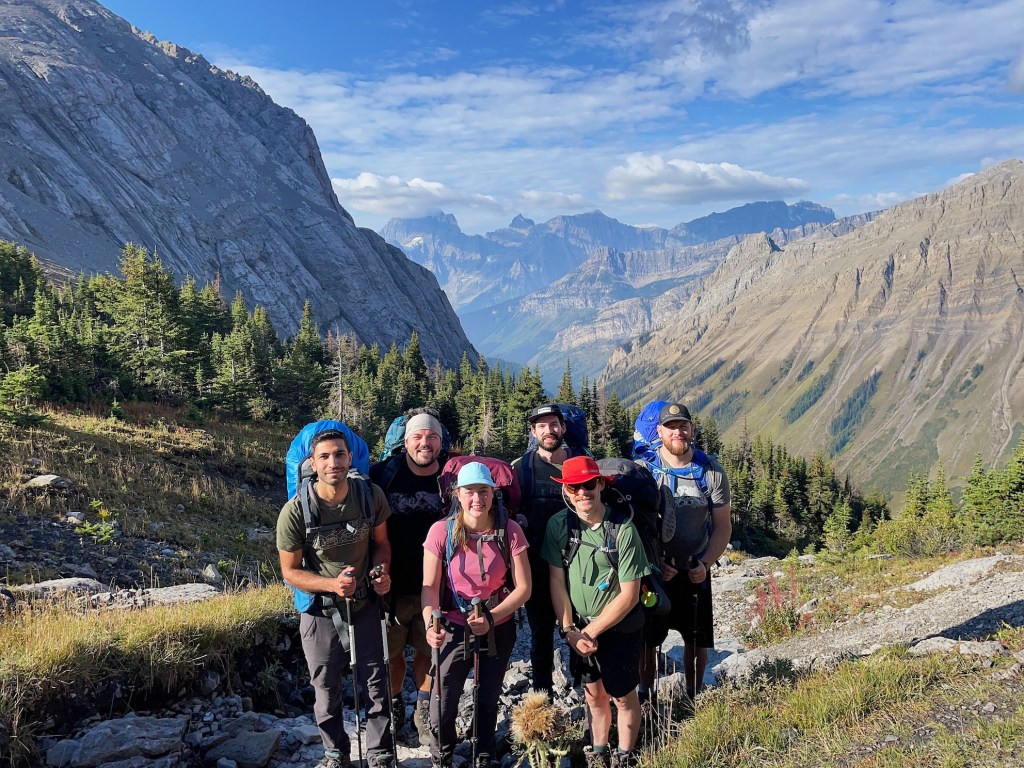
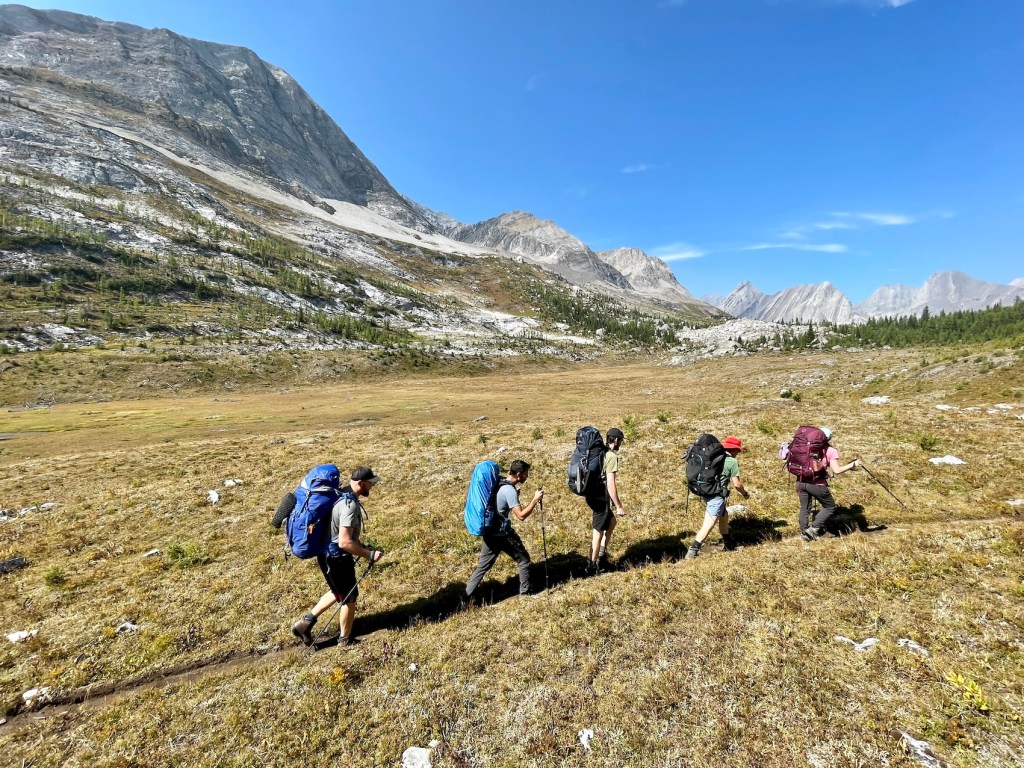
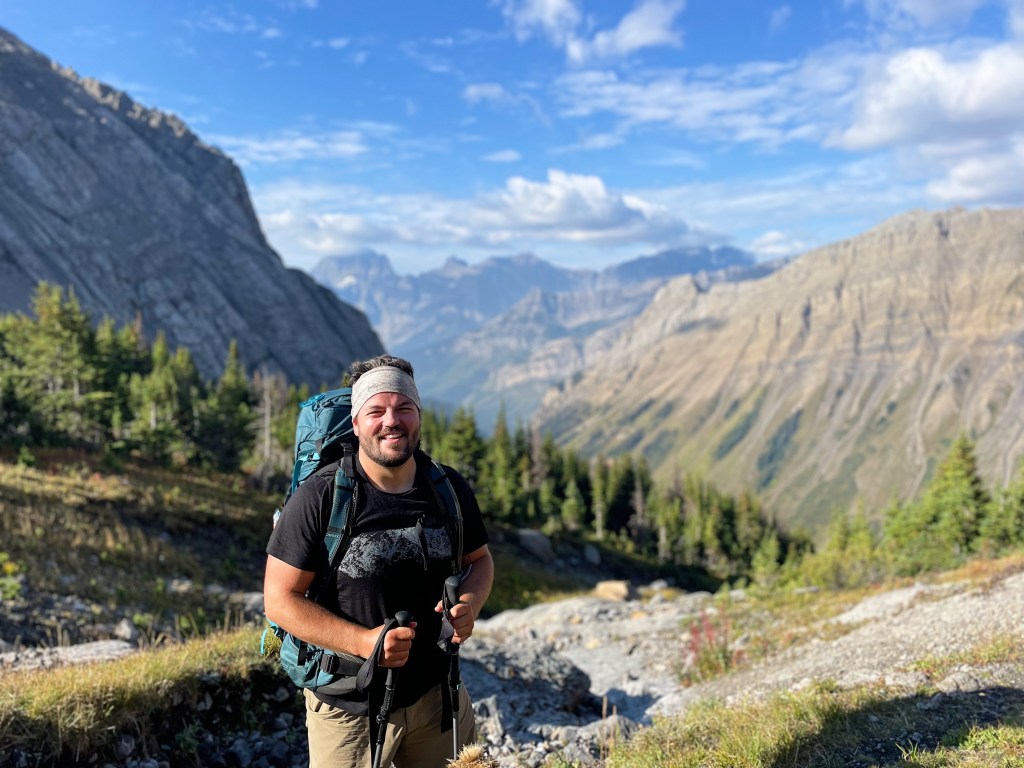
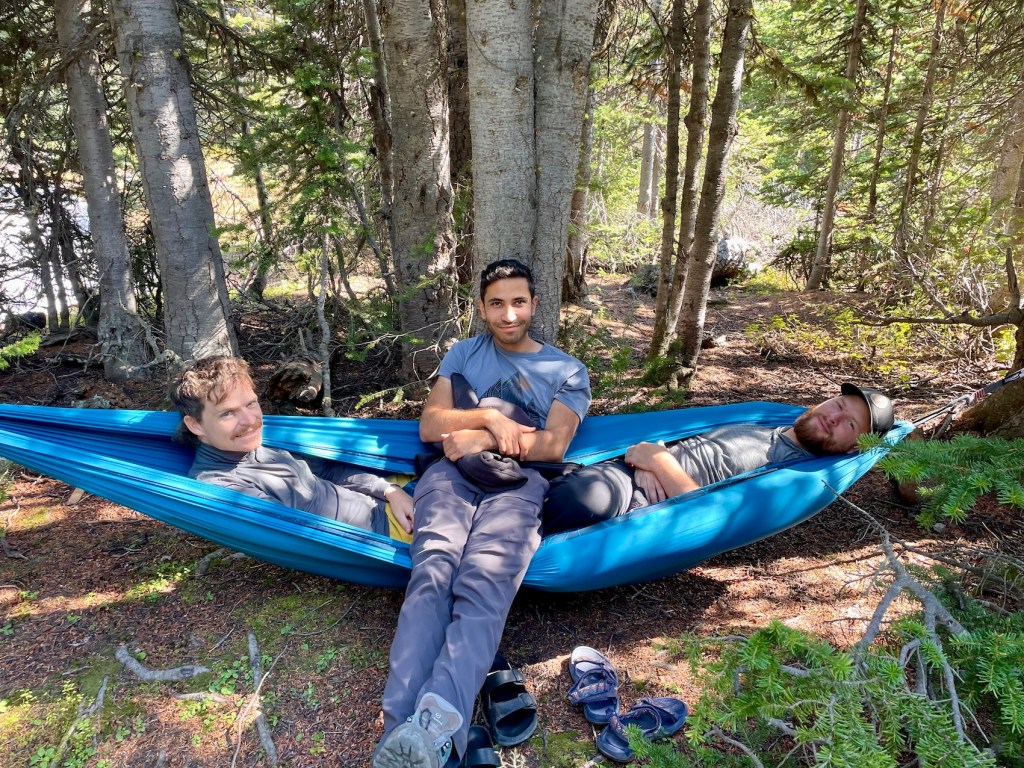
You probably know I love solo backcountry adventures — but I also love hitting the trail with friends. In September 2023, I headed into the Kananaskis backcountry with Carol and Hossein, Mackenzie and Izzy, and of course Kevin (yep, the same guy from the West Coast Trail and other fun trips). After spending much of the summer exploring Yukon and British Columbia, I was thrilled to be back in the Rockies for the North and South Kananaskis Pass Loop. Planning a trip of your own? Keep reading to find out more!
This post includes affiliate links. If you make a purchase through one of the links, I may receive a percentage of the sale at no extra cost to you. Thanks for your support!
North & South Kananaskis Pass Map
The Gem Trek Kananaskis Lakes Map is the best physical map for North and South Kananaskis Pass. It’s clear, detailed, and covers everything you need.
About the North & South Kananaskis Pass Loop
Location: Peter Lougheed Provincial Park, Kananaskis Country, Alberta
Distance: 44 km loop
Difficulty: Moderate to Difficult
Time: 3 – 4 days
Campsites: Forks, Turbine Canyon, Three Isle Lake
Season: Late June – September (depending on snow conditions)
Reservation: Yes – Alberta Parks backcountry permit required.
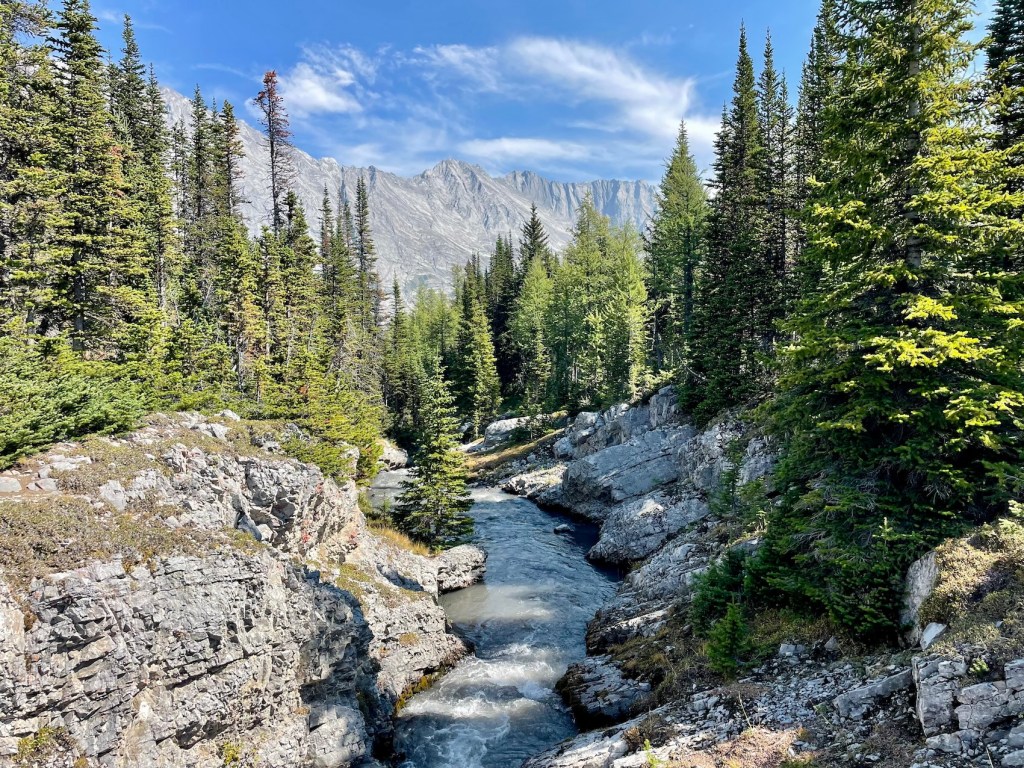
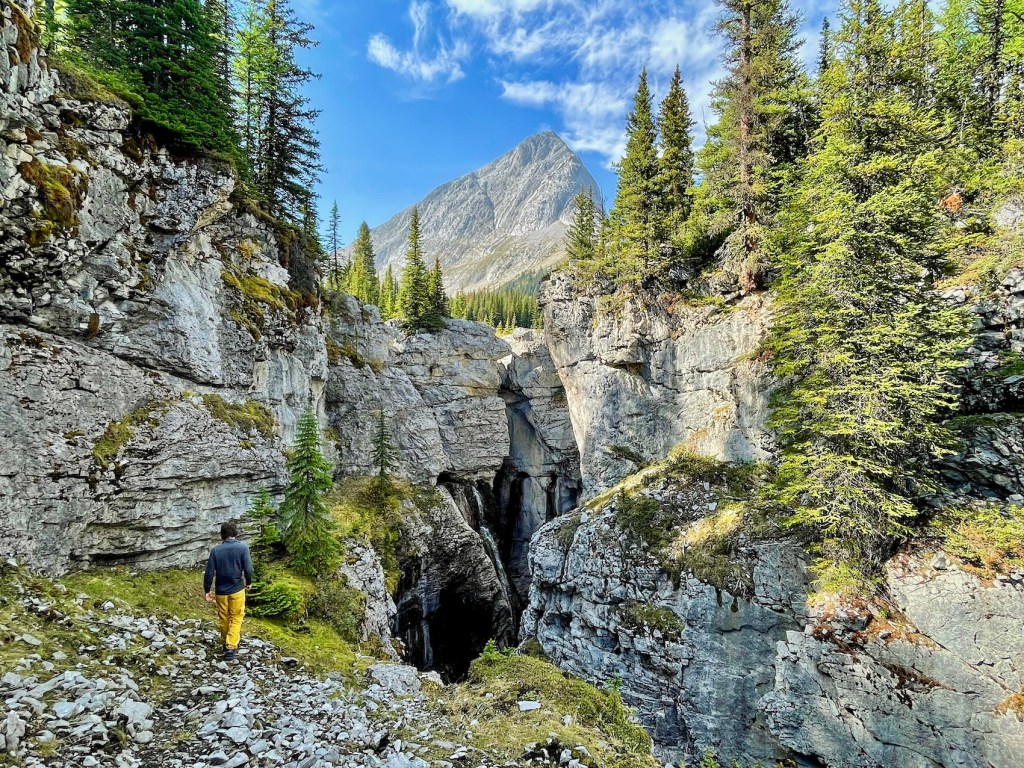
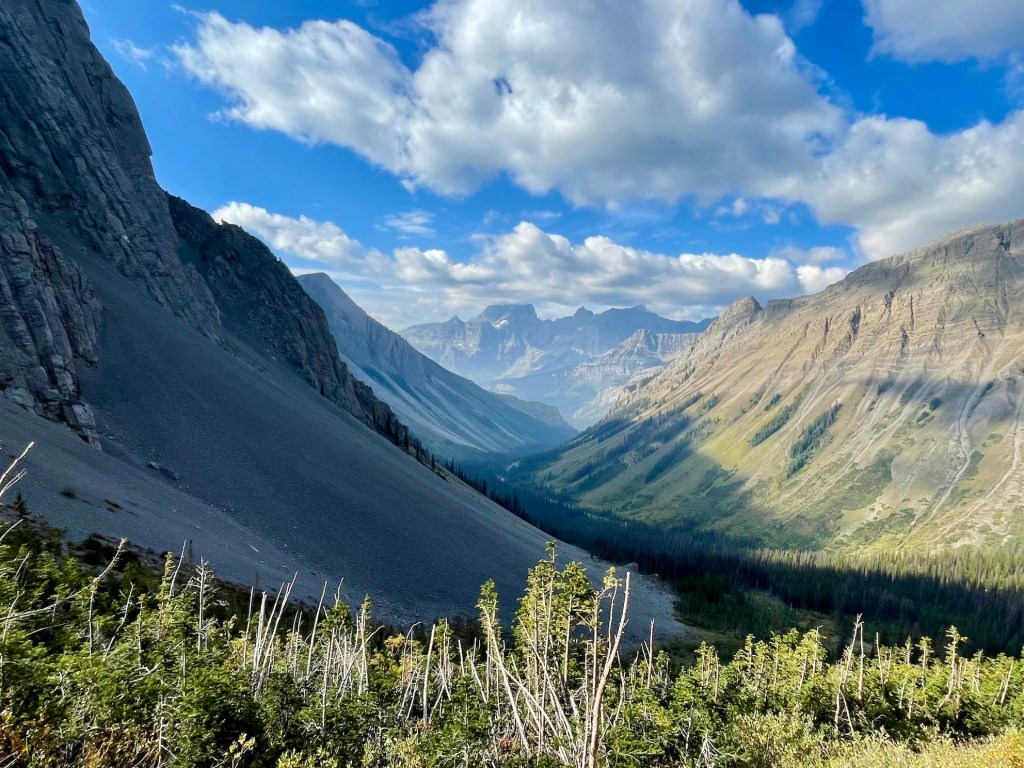
Features: North and South Kananaskis Pass offers a mix of alpine terrain, stunning lakes, and impressive views of the Continental Divide (as part of the Great Divide Trail). Hikers can expect picturesque meadows, cascading waterfalls, and a high chance of spotting wildlife like marmots, mountain goats, or yep, even grizzlies. Both North and South Kananaskis Passes offer challenging hiking conditions along with awe-inspiring scenery — a rewarding backcountry combination!

North & South Kananaskis Pass FAQs

Q. Where is the North and South Kananaskis Pass located?
A. This challenging loop is located in Peter Lougheed Provincial Park in Alberta’s Kananaskis Country. The route traverses the Continental Divide between Alberta and British Columbia, passing through both North and South Kananaskis Passes.
Q. How difficult is the North and South Kananaskis Pass hike?
A. For most hikers, this loop falls somewhere between difficult and strenuous, depending on conditions and how many days you take to complete it. Hikers should expect steep climbs, rocky terrain, and a couple of exposed sections. It’s best suited for hikers with backcountry experience under their belt (probably not the best choice for first-time backpackers).
Q. What’s the elevation gain?
A. Total elevation gain is somewhere around 1,200 metres. The most significant climb was on day three for us, between Turbine Canyon and Three Isle Lake.
Q. I’m new to backpacking. Should I attempt this hike?
A. I wouldn’t recommend it. If you’re planning your first multi-day hike, consider shorter trips like Galatea Lakes or Glacier Lake. That being said, if you’re fit and go with experienced friends, it could be a great introduction to backpacking.
Q. What’s the best direction to hike the loop?
A. We hiked the loop counter-clockwise from North Interlakes Trailhead, starting with a night at Forks Campground, then continuing to Turbine Canyon and then Three Isle Lake before finishing the loop. I haven’t done it the other way, but really enjoyed this direction — it offers a steady climb early on, crosses both North and South Kananaskis Passes, and saves Three Isle Lake for the final night.
Q. Do I need to reserve campsites?
A. Yes, backcountry campsites in Peter Lougheed Provincial Park must be reserved through Alberta Parks. This is a popular route, so book early to avoid missing out!
Q. Are there bears in the area?
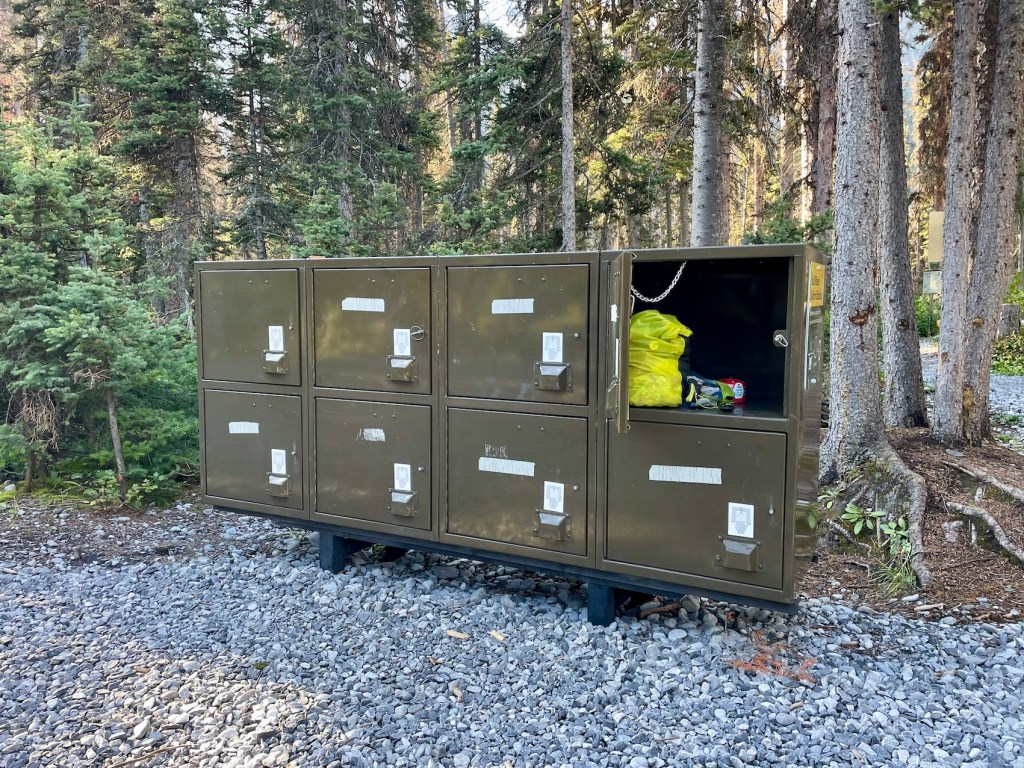
A. Yes, Kananaskis Country is grizzly and black bear territory. Bring bear spray (and know how to use it), store food properly using food storage lockers, and follow Leave No Trace principles. Make noise while hiking by talking or singing (please, leave the bear bells at home…).
Q. Is there cell service on the trail?
A. Cell service is limited or non-existent for most of the route. A satellite communication device is strongly recommended for emergencies.
Q. What’s the best time of year to hike North and South Kananaskis Pass?
A. Late July through early September is ideal. We hiked over Labour Day Weekend and it was nearly perfect.
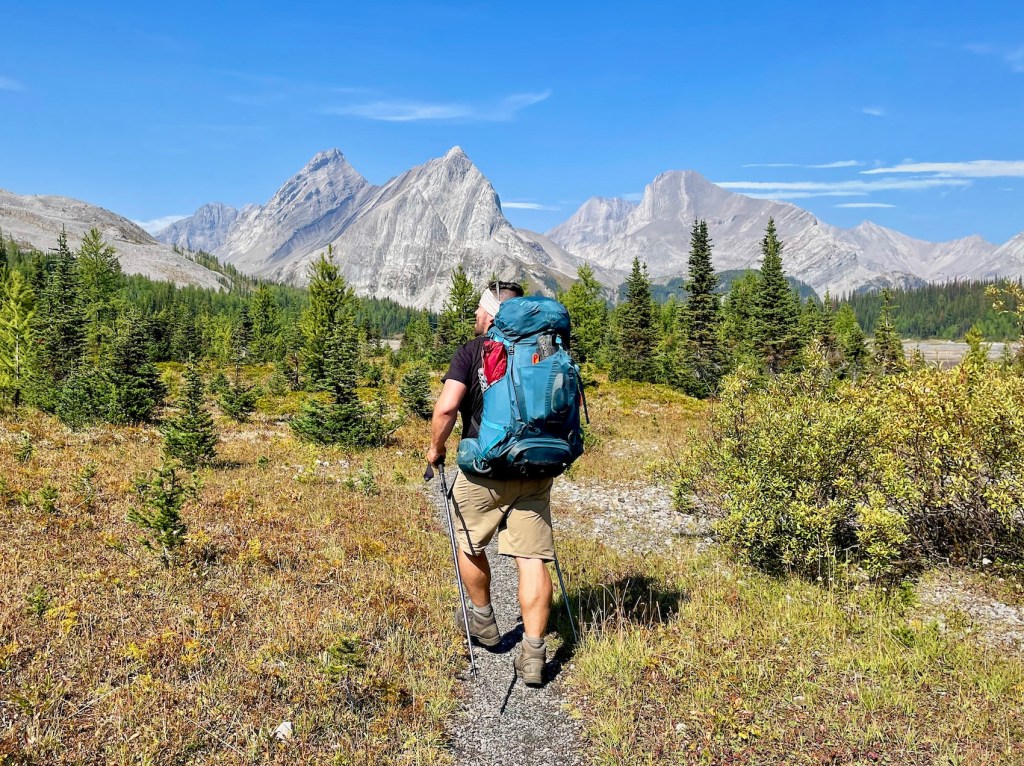
Why Backpack the North & South Kananaskis Pass?

Honestly, why not? The North and South Kananaskis Pass Loop is one of those rare gems in the Rockies — big mountain views and a real sense of adventure without the heavy crowds. In four days, you’ll hike over two stunning passes, camp next to alpine lakes, and soak in some epic views along the Continental Divide. It’s tough enough to be rewarding but totally doable for experienced hikers. Plus, you’ll come out the other side feeling like a badass.
Read next: Jasper Skyline Trail: 3 Days Backpacking in the Rockies
When To Hike North & South Kananaskis Pass
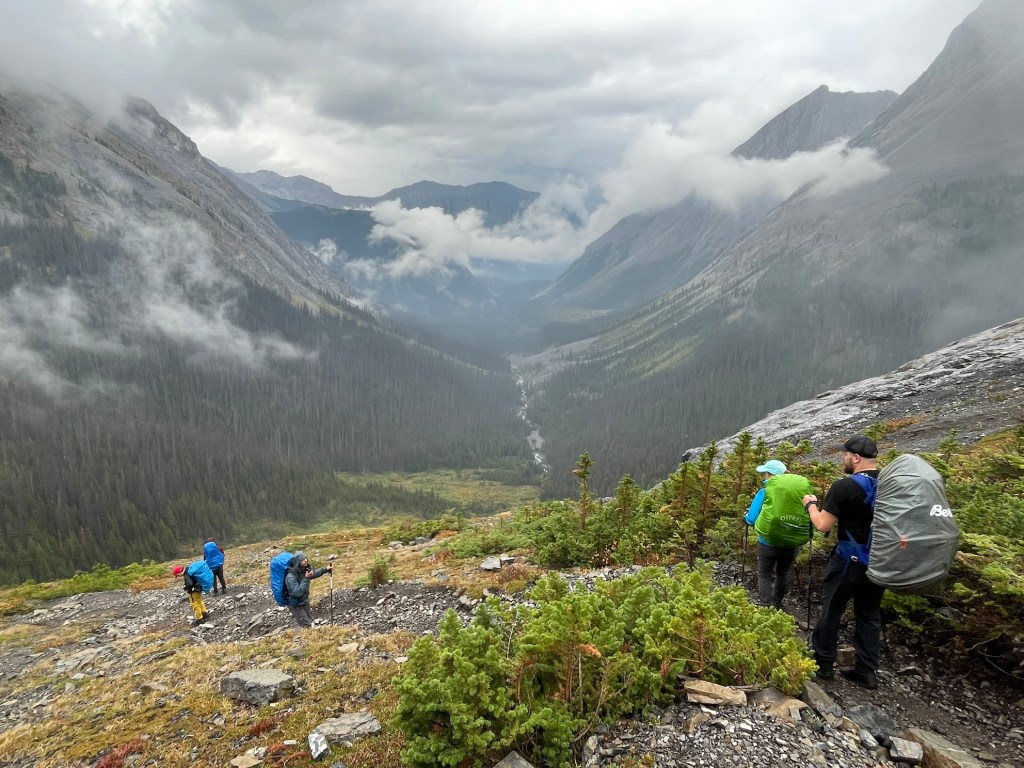
The best time to hike the loop is from mid-July to late September. By mid-July, most of the snow has melted from the high passes and stream crossings are more manageable. Trails are typically drier, and alpine meadows are bursting with wildflowers. Late September offers the bonus of golden larch season, though temperatures can dip quickly and early snowfall is possible. We hiked over Labour Day weekend and had mostly sunny skies with a bit of rain on the final day — overall, ideal conditions. If you’re hiking in the shoulder seasons, come prepared for unpredictable mountain weather (that means warm gear and layers!).
How to Reserve Backcountry Campsites in Kananaskis

If you’re planning to explore the North and South Kananaskis Pass, you’ll need to reserve backcountry campsites through Alberta Parks. Book online through the Alberta Parks Reservation System or call 1-877-537-2757. Reservations open 90 days in advance, and I’d recommend booking as early as possible. Popular sites in Kananaskis fill up quickly in the peak season!
On our trip, we stayed at Forks, Turbine Canyon, and Three Isle Lake, which made for a solid three-night itinerary. When you go to book, you’ll need to choose specific campsites for each night of your route, so it helps to map things out beforehand. Once your booking is confirmed, you’re all set (no separate permit needed). Be sure to carry a copy of your reservation with you on trail (digital or printed).
Read next: Your Complete Guide to Hiking the West Coast Trail
How Much Does It Cost to Backpack the Kananaskis Pass Loop?
Here are some of the typical costs you can expect when hiking North and South Kananaskis Pass. Compared to other backcountry trips, this one is relatively affordable — no shuttle needed and permits are pretty straightforward.
| Expense | Cost (Approx.) |
|---|---|
| Backcountry Camping Fee | $12 / person / night |
| Reservation Fee | $12 |
| Kananaskis Conservation Pass | $15 / day (per vehicle) or $90 / year |
| Frontcountry Camping (if needed) | $30-40 per night (at nearby campgrounds) |
| Food and Supplies | Varies (based on preferences and trip length) |
| Transportation (fuel, etc.) | Varies depending on distance to trailhead |
There’s no shuttle or park entry fee beyond the Kananaskis Conservation Pass, which you can buy online or at visitor centres.
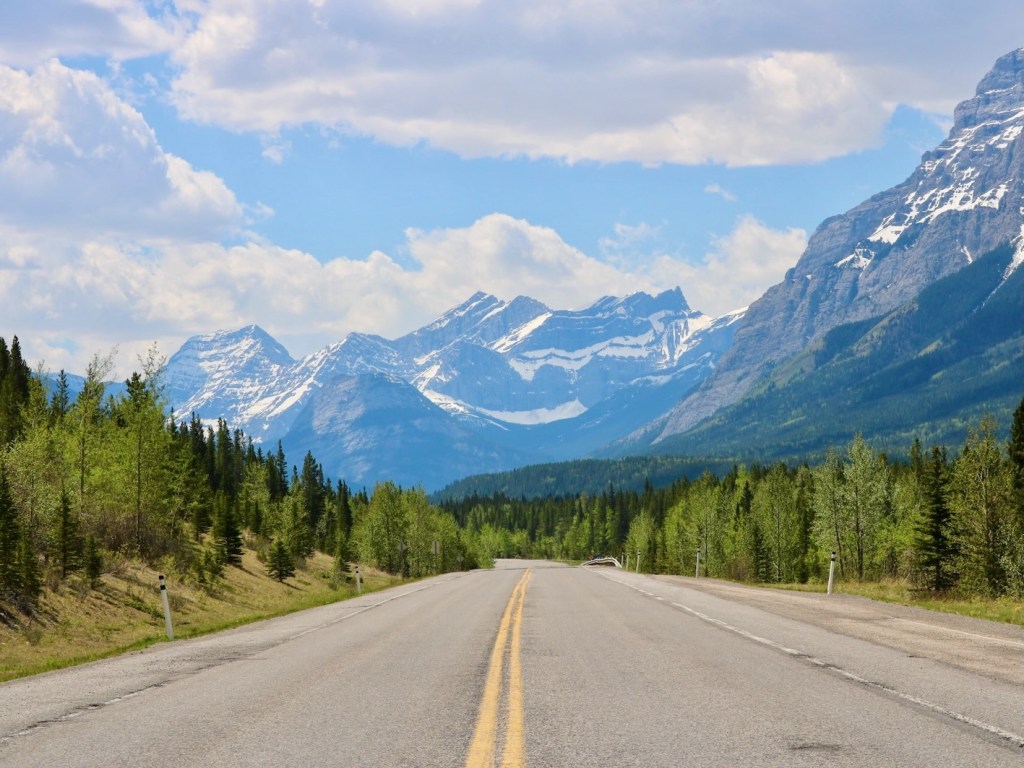
Directions to the Kananaskis Pass Trailhead

If you’re driving from Calgary, head west on Highway 1 (Trans Canada Hwy) for 70 km and then take the exit for Hwy 40 (Kananaskis Trail). Continue south through Kananaskis Country for about 50 km, passing Kananaskis Village and turning right onto Kananaskis Lakes Trail (Hwy 742) in Peter Lougheed Provincial Park. Follow signs to Upper and Lower Kananaskis Lakes. Continue past the Lower Lake until you reach the North Interlakes Day Use Area at the far end of the paved road. That’s where you’ll access the trailhead. The total drive is around 2 hours.
📍50.6319, -115.1403
Read Next: Upper Kananaskis Lake Trail: Family-Friendly Kananaskis Hike

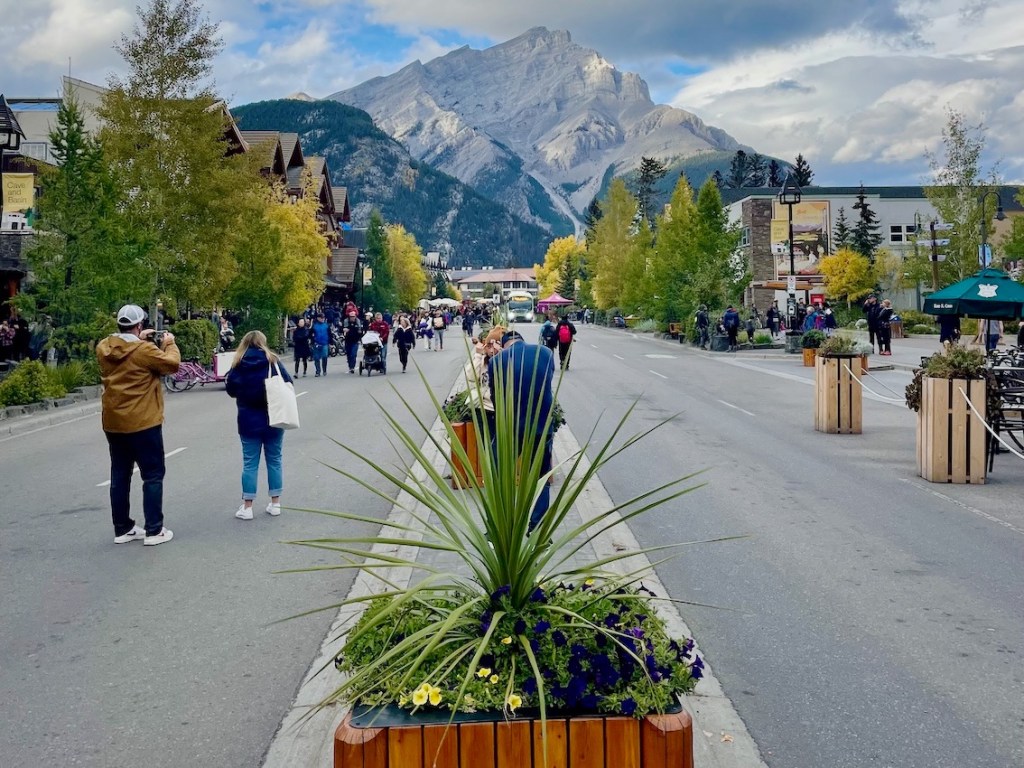
Where To Stay Near Kananaskis (Before & After Your Hike)
Many hikers base themselves at one of the frontcountry campgrounds in Kananaskis Country, which keeps logistics simple and puts you right in the mountains. Others prefer to stay nearby in Canmore or Banff, where a comfortable bed and hot shower make it easier to recharge before or after the hike. Wherever you stay, give yourself enough time to sort gear and make any last-minute decisions before heading out.
North & South Kananaskis Pass Itinerary (3-4 Days)
Day 1 — Interlakes Trailhead to Forks Campground (8 KM)
After an easy drive from Calgary, we hit the trail from the North Interlakes Day Use Area next to Upper Kananaskis Lake. The hike to Forks Campground was relatively flat and smooth, taking just about two hours at a relaxed pace. Forks is a well-equipped campground with new recycled plastic outhouses, picnic tables, bear lockers, grey water disposal, and a central fire ring with benches. Kevin and I settled in at site #3.
Day 2 — Forks Campground to Turbine Canyon (8 KM)
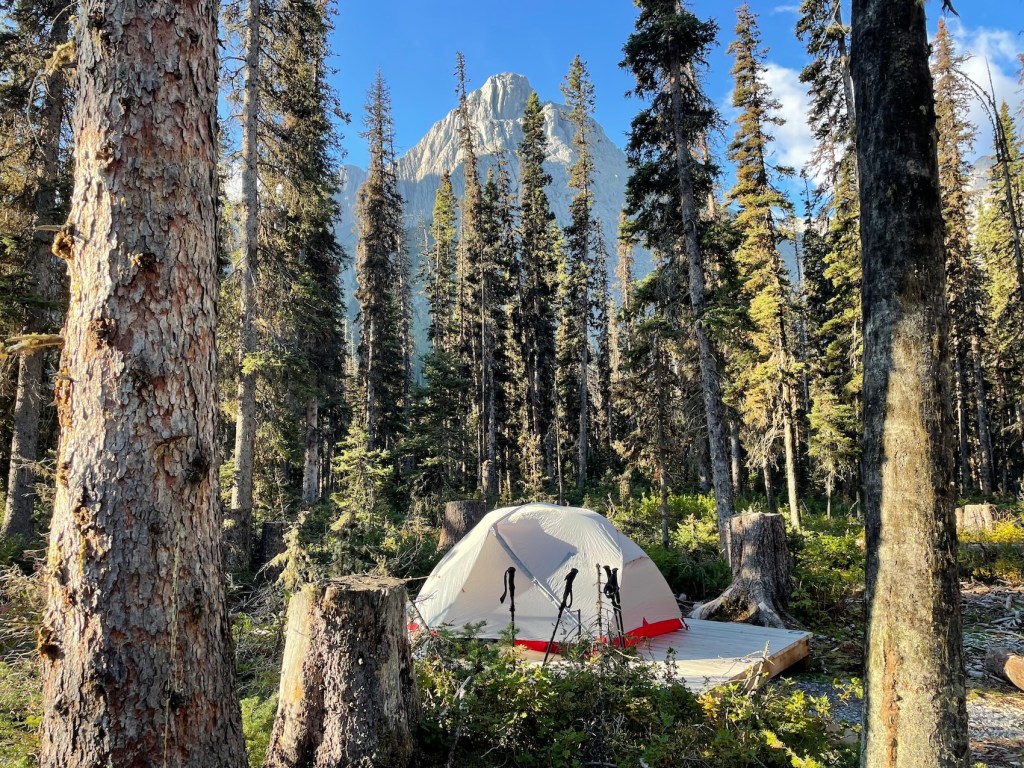
We left Forks around 10:15am and arrived at Turbine Canyon by 2:15pm, taking our time along the way. The trail begins with a moderate incline before levelling out into beautiful alpine terrain. About halfway through, we stopped at a scenic lookout for lunch — one of the better mid-trail views on this section. Turbine Canyon Campground sits next to a dramatic canyon, with glacier-fed rivers roaring nearby. The site was quiet, peaceful, and offered great evening views through the trees.
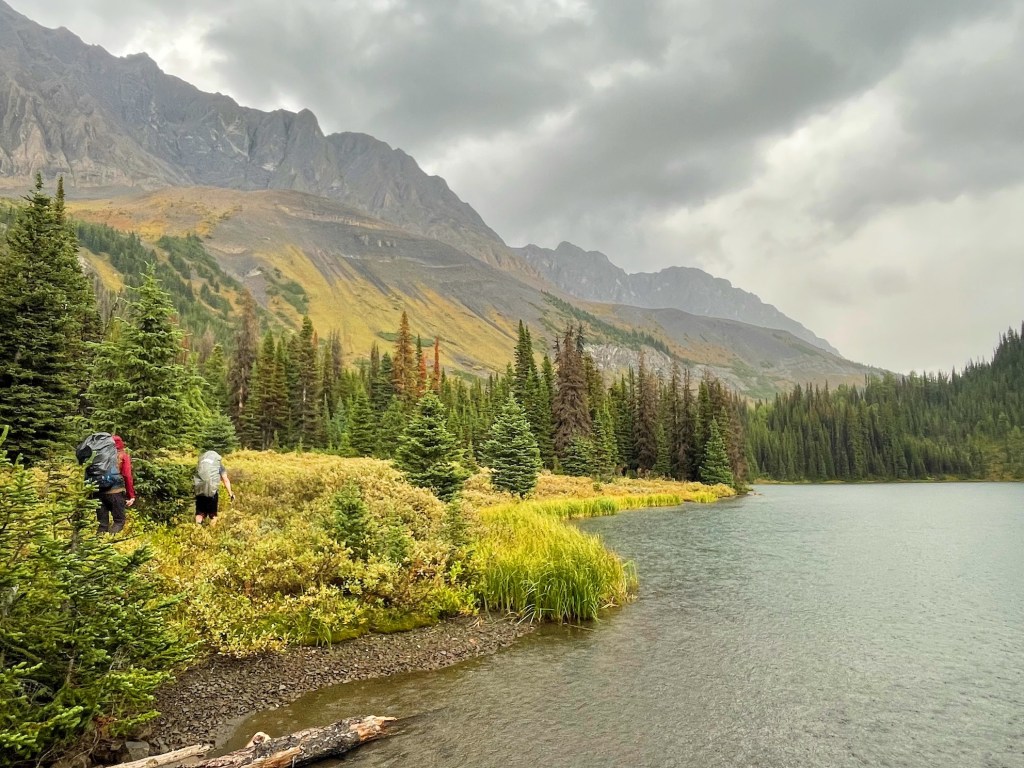
Day 3 — Turbine Canyon to Three Isle Lake (16 KM)
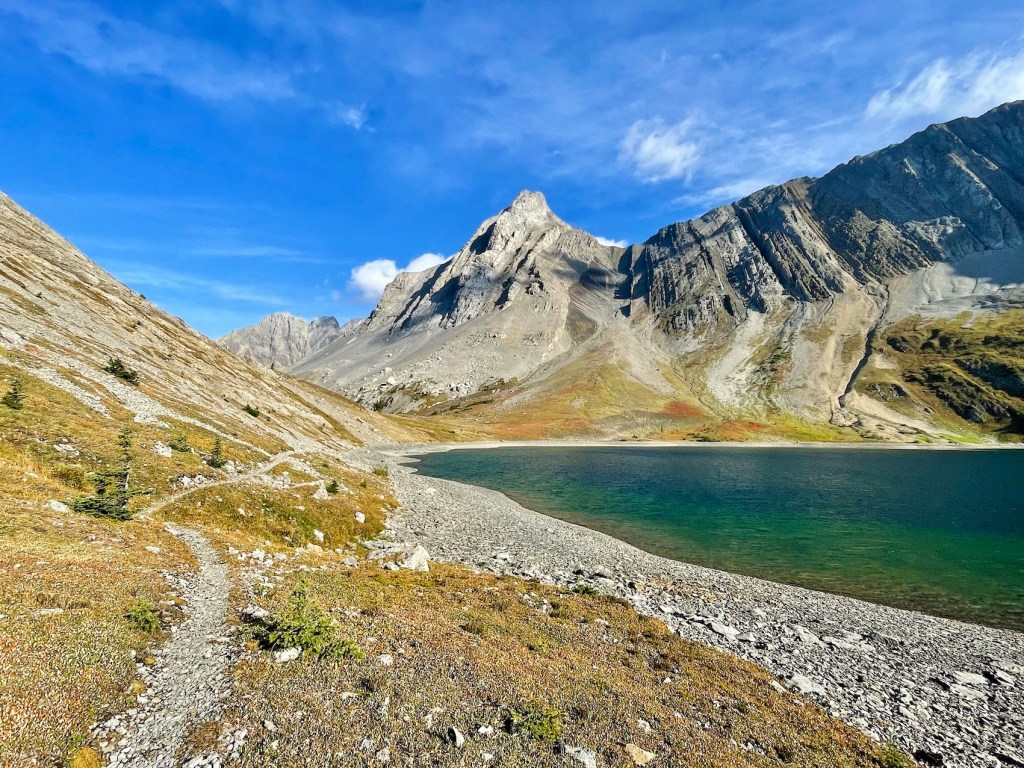
This was our longest and most challenging day. We left camp at 9am, crossed a rushing river early on, and followed a clearly marked trail. The climb up South Kananaskis Pass was relentless, especially the final scree slope. Be sure to take your time and watch your footing; it would be a tough go in rain or poor visibility. After a long grind, we descended toward Three Isle Lake and arrived at camp around 4:40pm. A nice site with plenty of options for tents. We ate supper under our tarp and listened to the rain.
Day 4 — Three Isle Lake to Interlakes Trailhead (12 KM)
We hit the trail at 9:00am and reached Forks Campground in just under two hours. From there, the final stretch back to the trailhead was easy and familiar. Back at the car by lunchtime. Overall, an excellent trip!
4-Day Itinerary (Clockwise)
Day 1 — Interlakes to Turbine Canyon (17 KM)
Day 2 — Turbine Canyon to Three Isle Lake (10 KM)
Day 3 — Three Isle Lake to Forks Campground (10 KM)
Day 4 — Forks Campground to Interlakes (7 KM)
3-Day Itinerary (For Strong Hikers or Limited Time)
Day 1 — Interlakes to Three Isle Lake via North Pass (17 KM)
Day 2 — Three Isle to Turbine via South Pass (10 KM)
Day 3 — Turbine to Interlakes (17 KM)
4-Day Itinerary via Beatty Lake
Day 1 — Interlakes to Turbine Canyon (17 KM)
Day 2 — Turbine Canyon to Three Isle Lake (10 KM)
Day 3 — Three Isle Lake to Beatty Lake (6 KM)
Day 4 — Beatty Lake to Interlakes (11 KM)
Note: Beatty Lake is an unmaintained and unofficial backcountry camping area with no facilities, tent pads, or reservations. Camping is allowed, but it’s first-come, first-served. It’s a peaceful alternative to busier sites like Three Isle or Forks, and a great option if you’re looking for solitude or if other sites are fully booked.

North & South Kananaskis Pass Distances
Here’s a breakdown of key campgrounds, distances, and features to help plan your trip:
| KM | Campground | Description |
|---|---|---|
| 0 | North Interlakes Day Use Area | Scenic trailhead and picnic spot located between Upper and Lower Kananaskis Lakes in Peter Lougheed Provincial Park. |
| 8 | Forks Campground | Spacious, well-maintained site with 10 tent pads, new plastic outhouse, picnic tables, bear lockers, and a fire ring. Located at the trail junction between Three Isle Lake and Turbine Canyon. |
| 16 | Turbine Canyon Campground | A more remote site nestled in the trees near a dramatic canyon. Facilities include tent pads, bear lockers, and basic amenities. Quiet and less trafficked than Forks or Three Isle. |
| 22 | Maude Lake | Unofficial/unserviced wilderness site used by some hikers doing high traverses. No facilities — practice Leave No Trace. Offers a serene alpine setting with lakeside camping near the Continental Divide. |
| 26 | Beatty Lake | Another unofficial/unserviced wilderness site used on the south end of the loop. A small, peaceful lake tucked between South Kananaskis Pass and the Three Isle junction. No facilities — remote and scenic. |
| 32 | Three Isle Lake Campground | Popular alpine lake campground with stunning views. Offers multiple tent pads, bear lockers, pit toilets, and lake access. Surrounded by steep peaks — an incredible (and often busy) overnight destination. |
| 44 | Return to Trailhead | Wrap up your loop via Forks Campground. Mostly downhill and easy-going after Three Isle. Expect great views of Upper Kananaskis Lake on your descent. |
Note: Distances are approximate and based on the classic counterclockwise loop. Maude and Beatty Lakes are not official campgrounds and should only be used by experienced backpackers following Leave No Trace practices.
Meal Planning

Food always hits different in the backcountry, especially on a route like the North and South Kananaskis Pass. With big days, steep passes, and long stretches between sites, you’ll want meals that are lightweight but high in calories. I usually roll with oatmeal or potatoes in the morning, a tortilla stuffed with peanut butter or jerky for lunch, and simple trail snacks like dried mango, gummies, or some jolly ranchers. It doesn’t need to be fancy — just food that sounds good when you’re tired, hungry, and staring down another mountain pass.
There’s plenty of water on this loop, but don’t forget a filter and water bottle (we like the Nalgenes). One thing I never leave behind: a hot drink. Whether it’s coffee, hot chocolate, or a little instant soup, that warm cup makes a world of difference when the mountain air cools off!
Read next: Your Complete Guide to Hiking in Tombstone Territorial Park

Toilets

Most campsites on the North and South Kananaskis Pass Loop — like Forks, Three Isle Lake, and Turbine Canyon — have simple pit toilets, which honestly feels like a luxury in the backcountry. But if you’re at an unofficial site like Beatty Lake or elsewhere in the backcountry, you’ll need to dig a cathole (at least 60 metres from water, trails, and camp). Pack out your TP, and don’t leave anything behind. It’s not glamorous, but Leave No Trace makes sure these wild places stay wild.

Wildlife in Kananaskis Country
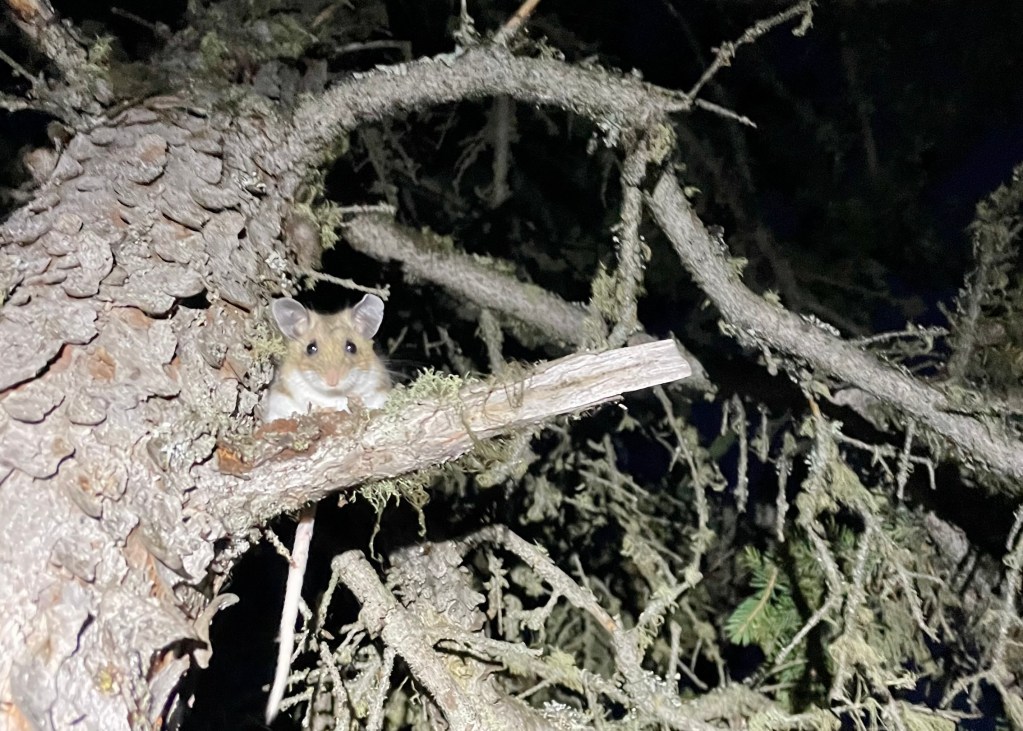
Kananaskis is home to some incredible wildlife, including bears, moose, and more. Spotting animals on the trail is part of the magic out here, but it comes with responsibility. Carry bear spray and know how to use it, and make noise (talking or singing) in dense or brushy areas. When you’re at camp, store your food properly in food storage lockers, and never leave snacks or wrappers in your tent or lying around. Remember, a fed bear is a dead bear — let’s not be the reason one has to be relocated or worse.
Read next: Highwood Ridge Hike in Kananaskis Country
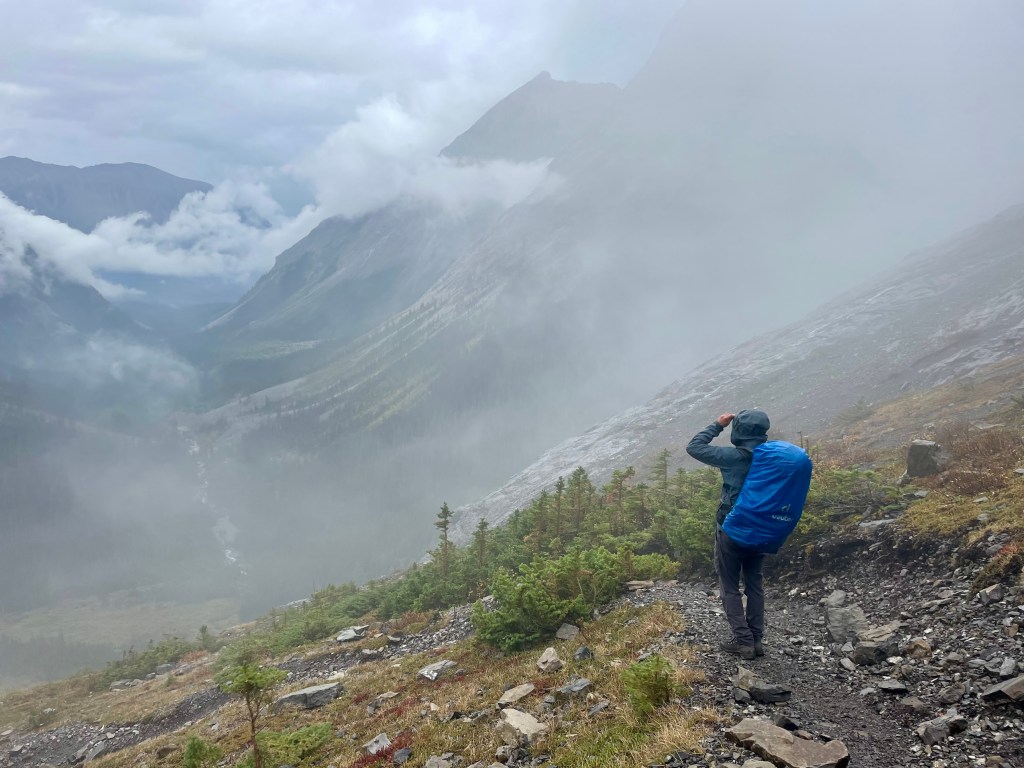
Backcountry Safety in Kananaskis Country

Kananaskis terrain is rugged, remote, and unpredictable — and that’s exactly why it’s worth exploring. But backcountry travel comes with risk. Weather can turn fast, even in summer, so pack layers and be ready for rain, wind, or snow. Cell service is limited, so a map, compass, or GPS is a must. I carry a satellite communications device to use in emergencies. Let someone know your route and expected return (AdventureSmart is a great resource). And most importantly? Know your limits. Turning back is always better than pushing through unprepared.

North & South Kananaskis Pass Packing List

Here is my packing list. If you make a purchase through these affiliate links, I will receive a small commission at no extra expense to you. Thank you for supporting this website!
- Osprey Atmos 50
- Waterproof pack cover
- MSR Elixer 3
- MEC Talon sleeping bag
- Therm-a-rest NeoAir
- Sleeping bag liner
- Siltarp
- Camp shoes
- Scarpa hiking boots
- Arc’teryx Beta LT rain shell
- Rain pants
- Jetboil Flash
- Stove fuel
- Campsuds soap
- Osprey 2L reservoir
- Water bottle
- Komperdell hiking poles
- Lighter / matches
- GSI mug
- Spoon
- Sunscreen
- Sunglasses
- Bug spray
- Toilet paper
- Towel
- toothpaste / toothbrush
- MSR TrailShot
- Headlamp
- Paracord
- Buff
- Mora Knife
- First aid kit
- Leukotape (for blisters)
- 2 merino wool t-shirts
- 1 long sleeve (love this Patagonia Capilene)
- 1 pair of pants
- 2 pairs of shorts (1 for hiking; 1 for camp)
- 1 pair of merino leggings (like these)
- 3 pairs of merino underwear (1 for hiking; 1 for camp; 1 extra)
- 2-3 pairs of merino socks (1 for hiking; 1 for camp; 1 extra)
- Down jacket (love this Patagonia down sweater jacket)
- Warm hat and gloves
- Map / compass
- Satellite comms (Zoleo)
- Powerbank
- Camera
- Food
- Map
- Bear spray
Kananaskis Rules & Regulations

Campsites: Tents should be set up on the pads provided. A maximum of 6 people and one tent per site is permitted.
Pets: Pets must be on a leash no more than 2 metres in length at all times.
Fires: Fires are only permitted in metal fire rings, when provided. Completely extinguish any fires before you sleep or leave camp.
Garbage: Pack out all food waste and garbage. Leftover food should not be buried, dumped in the outhouse, or burned. Pack out toilet paper or dispose of it in the campground outhouse. Do not litter, including cigarette butts, seed shells and tissue.
Bathing: Wash or bathe at least 50 metres from any water source.
Storage Lockers: Keep all attractants away from wildlife. Store food, garbage, toiletry items, and clothing used while cooking in the lockers provided.
Stay on the Trail: Stay on established trails to avoid trail braiding.
Protect the Environment: It is not permitted to pick or collect wildflowers or other vegetation (including deadfall), rocks, fossils, or artifacts.
Backcountry Etiquette: Share the trail with other users. During a break, step off of the trail so others can pass.
Bear Country: Always carry bear spray and know how to use it.
Check out the full list of Alberta Parks Backcountry Camping Rules before you head out.

Are you planning to explore North and South Kananaskis Passes this year? Did you find this guide helpful? Is there anything else you want to know? Leave a comment below!
Save this for later? Hover over the image to add to Pinterest 👇
Thomas Coldwell has always been fond of the outdoors. He loves hiking, paddling, and camping, and thoroughly enjoys creating outdoor adventure resources for people like you. Originally from Nova Scotia, Thomas has lived in four Canadian provinces (NS, NB, ON, AB) and has travelled in 20 countries and counting.